
Table of Contents
If you love creative photography or editing pictures with extra sparkle, you’ve probably heard of Photeeq lens flare. Whether you’re a beginner taking your first steps in photo editing or a skilled creator designing content for social media, lens flares can make your images stand out.
But what exactly is Photeeq lens flare? How does it work? Is it easy to use? And most importantly—how can it help you bring that magical lighting style to your photos, videos, or graphics?
In this guide, we’ll explain everything you need to know in a fun, simple way. You’ll learn what makes Photeeq lens flare different, how to use it, where to get it, and how to get the most out of your creative edits. We’ll also answer some common questions and give a few personal tips along the way!
Let’s light things up and dive into the power of Photeeq lens flare.
What Is Photeeq Lens Flare?
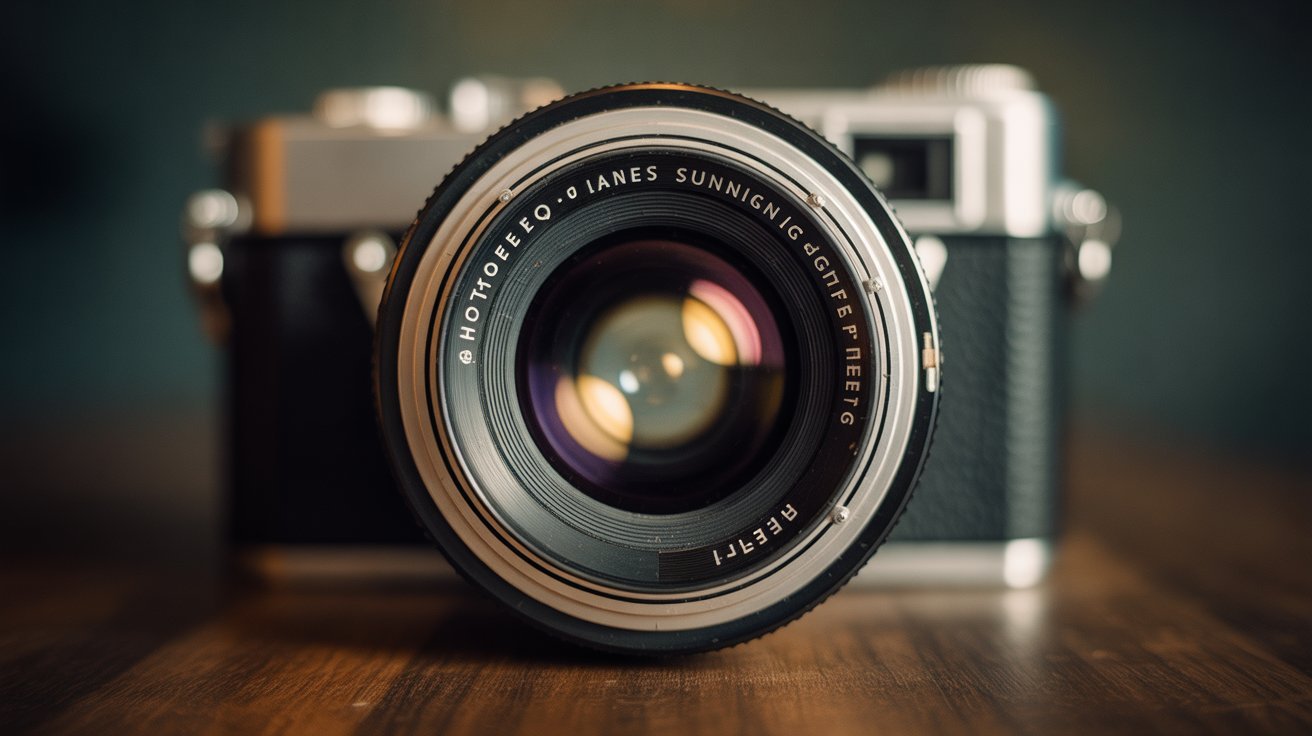
Photeeq lens flare is a photo editing effect that adds a glowing light flare to your images. This flare can look like sunlight, a camera spotlight, or even Hollywood-style effects. It gives your pictures a warm, artistic, or dramatic tone—depending on how you use it.
The term “lens flare” comes from real cameras. When bright light directly hits the lens, it bounces inside and creates flares. With Photeeq lens flare, you don’t need sunlight or fancy gear. The tool helps you add it afterward, during editing.
Photeeq is known for offering simple, creative editing plugins. Their lens flare tool lets users apply beautiful lighting effects with just a few clicks. It’s perfect for enhancing portraits, landscapes, and artistic images.
Why Use Lens Flare in Photography?

Lens flares are more than just pretty lights. Photographers and designers use them for a reason. Flares can change the entire mood of a picture. They make a photo look like it was taken at golden hour—or give a dreamy, movie-like feeling.
When used creatively, flares can:
- Add sunlight or warmth to outdoor shots
- Highlight a subject with glow and sparkle
- Make images feel more realistic or cinematic
- Draw attention to one part of the photo
- Add visual interest to simple photos
Photeeq lens flare lets you control this look without the struggle of harsh sunlight or special gear. It’s a fast way to boost creativity in both casual and professional edits.
How Does Photeeq Lens Flare Work?
Photeeq lens flare works as a plugin or filter that you add to a photo editor. Once it’s installed, you can choose from different flare styles, shapes, and light positions. The tool then adds the chosen flare to your picture.
Most of the time, you can pick:
- The source of the light (left, right, top, bottom)
- The shape or style of the flare (ring, orb, streaks, etc.)
- The intensity of the light or blur
- The color that fits your image
Some versions work inside photo editors like Photoshop, while others may be used in specialized editing platforms. The user-friendly design makes it easy to try different looks without fear of messing up.
Where to Download or Access Photeeq Lens Flare
Photeeq, as a company, once offered plugins and filters for well-known editing software. While the original plugins may not be officially available to download from their site anymore, you can still find Photeeq-style lens flare tools and similar filters on:
- Online photo editing markets
- Forums and digital editing communities
- Photoshop plugin collections
- Free or paid editing app bundles
Always make sure to download from a trusted source to avoid fake software or bugs.
If you already have Photeeq filters installed, the lens flare tool may be inside your list of effects or filters under photo lighting or glow effects.
Best Ways to Use Photeeq Lens Flare in Photos
Getting great results with Photeeq lens flare is all about using it the right way for the right photo.
Here are some cool ideas:
1. Outdoor Photos: Add a soft sunbeam coming from the corner to create a warm sunset glow.
2. Portraits: Add a backlight around hair or shoulders to give a professional studio look.
3. Action Shots: Use a bold flare to suggest movement and energy, especially in sports or dance pictures.
4. Landscapes: Create a dreamy effect with streak-type flares along mountains or skies.
5. Abstract Edits: Blend flares into artwork or digital collages for extra shine and mood.
You don’t need to overdo it. Sometimes, even a small light beam can make a big difference.
Choosing the Right Flare for Your Image
Different photos need different flares. Not all lens flares fit every shot. With Photeeq lens flare, picking the right one depends on a few questions:
- Is the light in your photo natural or dramatic?
- Do you want soft warmth or bright intensity?
- Are you trying to create realism or fantasy?
In general,
- Use soft, circular flares for portraits.
- Choose line or streak flares for action and motion.
- Try colored flares for creative or surreal edits.
Look at your photo and decide what mood or direction you want. Then select a flare that supports that feeling.
Can You Use Photeeq Lens Flare for Videos?
While Photeeq plugins are mostly used for still photos, similar lens flare effects are often applied in videos too. Some advanced programs like Adobe Premiere Pro and Final Cut Pro offer lens flare packs with 3D-style lighting.
Although Photeeq doesn’t offer direct video editing tools, you can find the same visual effect placement from:
- Overlay flare videos with green screens
- Light leak effects
- Keyframe-based positioning tools
Using lens flare in video helps build atmosphere. It adds polish to YouTube intros, wedding reels, music clips, and TikToks.
Is Photeeq Lens Flare Good for Beginners?
Yes! In fact, one of the best things about Photeeq lens flare is how easy it is to use. You don’t need to be tech-savvy or professional to make your photos look stunning.
The tool is great for:
- New photographers trying edits for their first time
- Social media creators adding glow to Instagram photos
- Students learning photo editing for school projects
- Small business owners enhancing product shots
Everything about it is clean, user-friendly, and flexible. You don’t need to understand graphic design to shine.
Alternatives to Photeeq Lens Flare and Similar Tools
If Photeeq lens flare isn’t available or you want extra options, there are many great alternatives to try.
Here are a few popular options with lens flare features:
- Lightroom Presets with flare overlays
- Photoshop (Built-in Lens Flare Filter)
- Luminar AI for light control and sky replacement
- Canva Pro with glow and shine overlays (for simple images)
- Snapseed App with light filter packs
- Pixlr Editor for free, browser-based glow effects
These tools offer similar effects—just packaged differently. You can find free and paid versions based on your needs.
Tips to Make Your Lens Flare Look Real
Adding a fake flare that looks realistic is an art. Photeeq lens flare makes this easier, but there are still a few golden rules to follow.
1. Match the direction of your light. If the sun is coming from the right, your flare should too.
2. Blur slightly for softness. Unless you’re doing special effects, flares should glow, not stick out.
3. Adjust color warmth. Blue tints create cool moods. Orange ones feel warm and cozy.
4. Keep it subtle. Too much flare can ruin your photo. Less is more.
5. Test and step back. Apply the flare, then walk away and return with a fresh eye. If it still looks good, you nailed it.
Using Photeeq Lens Flare for Business or Branding
Creative branding is all about visual impact. Whether you run a small business, sell online, or manage social media for others, photos matter. With Photeeq lens flare, you can turn a normal product shot into something polished and eye-catching.
Use lens flare to:
- Brighten product photos for ad banners
- Add mood to fashion shoots or jewelry images
- Create share-worthy quote posts with a flare sunset
- Promote events with glowy and warm vibes
Adding subtle light to a banner photo, logo image, or website section often increases clicks and time-on-page.
Common Mistakes to Avoid
Here’s what to watch out for when using Photeeq lens flare:
Overuse: Too much glow makes your photo look fake. Use lightly for more power.
Wrong light direction: Don’t place a flare on the left if your shadow shows light from the right.
Low-res images: Flare effects can highlight poor-quality images, so start with a sharp original.
Wrong setting: Applying intense light to an indoor night photo without proper balance can feel unnatural.
No story: A flare should help your photo say more. If it distracts, leave it out.
Use these tips to keep your creative edits smart and stylish.
FAQs
1. What is Photeeq lens flare used for?
It’s used to add lighting effects to images, helping to create warmth, drama, or artistic impact.
2. Can beginners use Photeeq lens flare easily?
Yes! The tool is simple, fast, and works with little editing knowledge.
3. Does Photeeq lens flare work with all editing software?
It works mainly with compatible tools like Photoshop. Check system requirements before downloading.
4. Where can I download Photeeq lens flare now?
Although the official Photeeq site is offline, you may find plugin packages on photo forums or plugin stores.
5. Is Photeeq lens flare free?
Some versions were free in the past, but check trusted sites for recent pricing or similar free options.
6. Can it be used for YouTube thumbnails or social media?
Absolutely. Adding a glow effect helps highlight you or your product in any thumbnail or story post.
Final Thoughts
If you enjoy creative photo edits, want to make your visuals pop, or simply love experimenting with light, Photeeq lens flare is worth trying. It’s easy, effective, and fun for users at any level.
Flares are more than decoration—they tell stories. Whether you use them to capture sunlight, add emotion, or create movie-style drama, they change your photo’s mood with just one click.
Don’t stress about being perfect. Just open your favorite image, experiment with lens flare, and enjoy the editing process. You might be surprised how a simple light touch can completely transform a picture.
